
Tenant Admin Guide
Manage your users, classes and subjects, watch your billing and audit log, and import or export data, all within your own organization.
A tenant admin administers one customer organization on ICT Exam: its users, classes, subjects, billing and audit trail. You only ever see your own organization’s data, never another customer’s. Provisioning organizations, plans and seats is the super admin’s job.
The dashboard
After signing in you land on the Dashboard. It lists your organization’s papers and gives you the Data import and export panel and an Audit log shortcut.
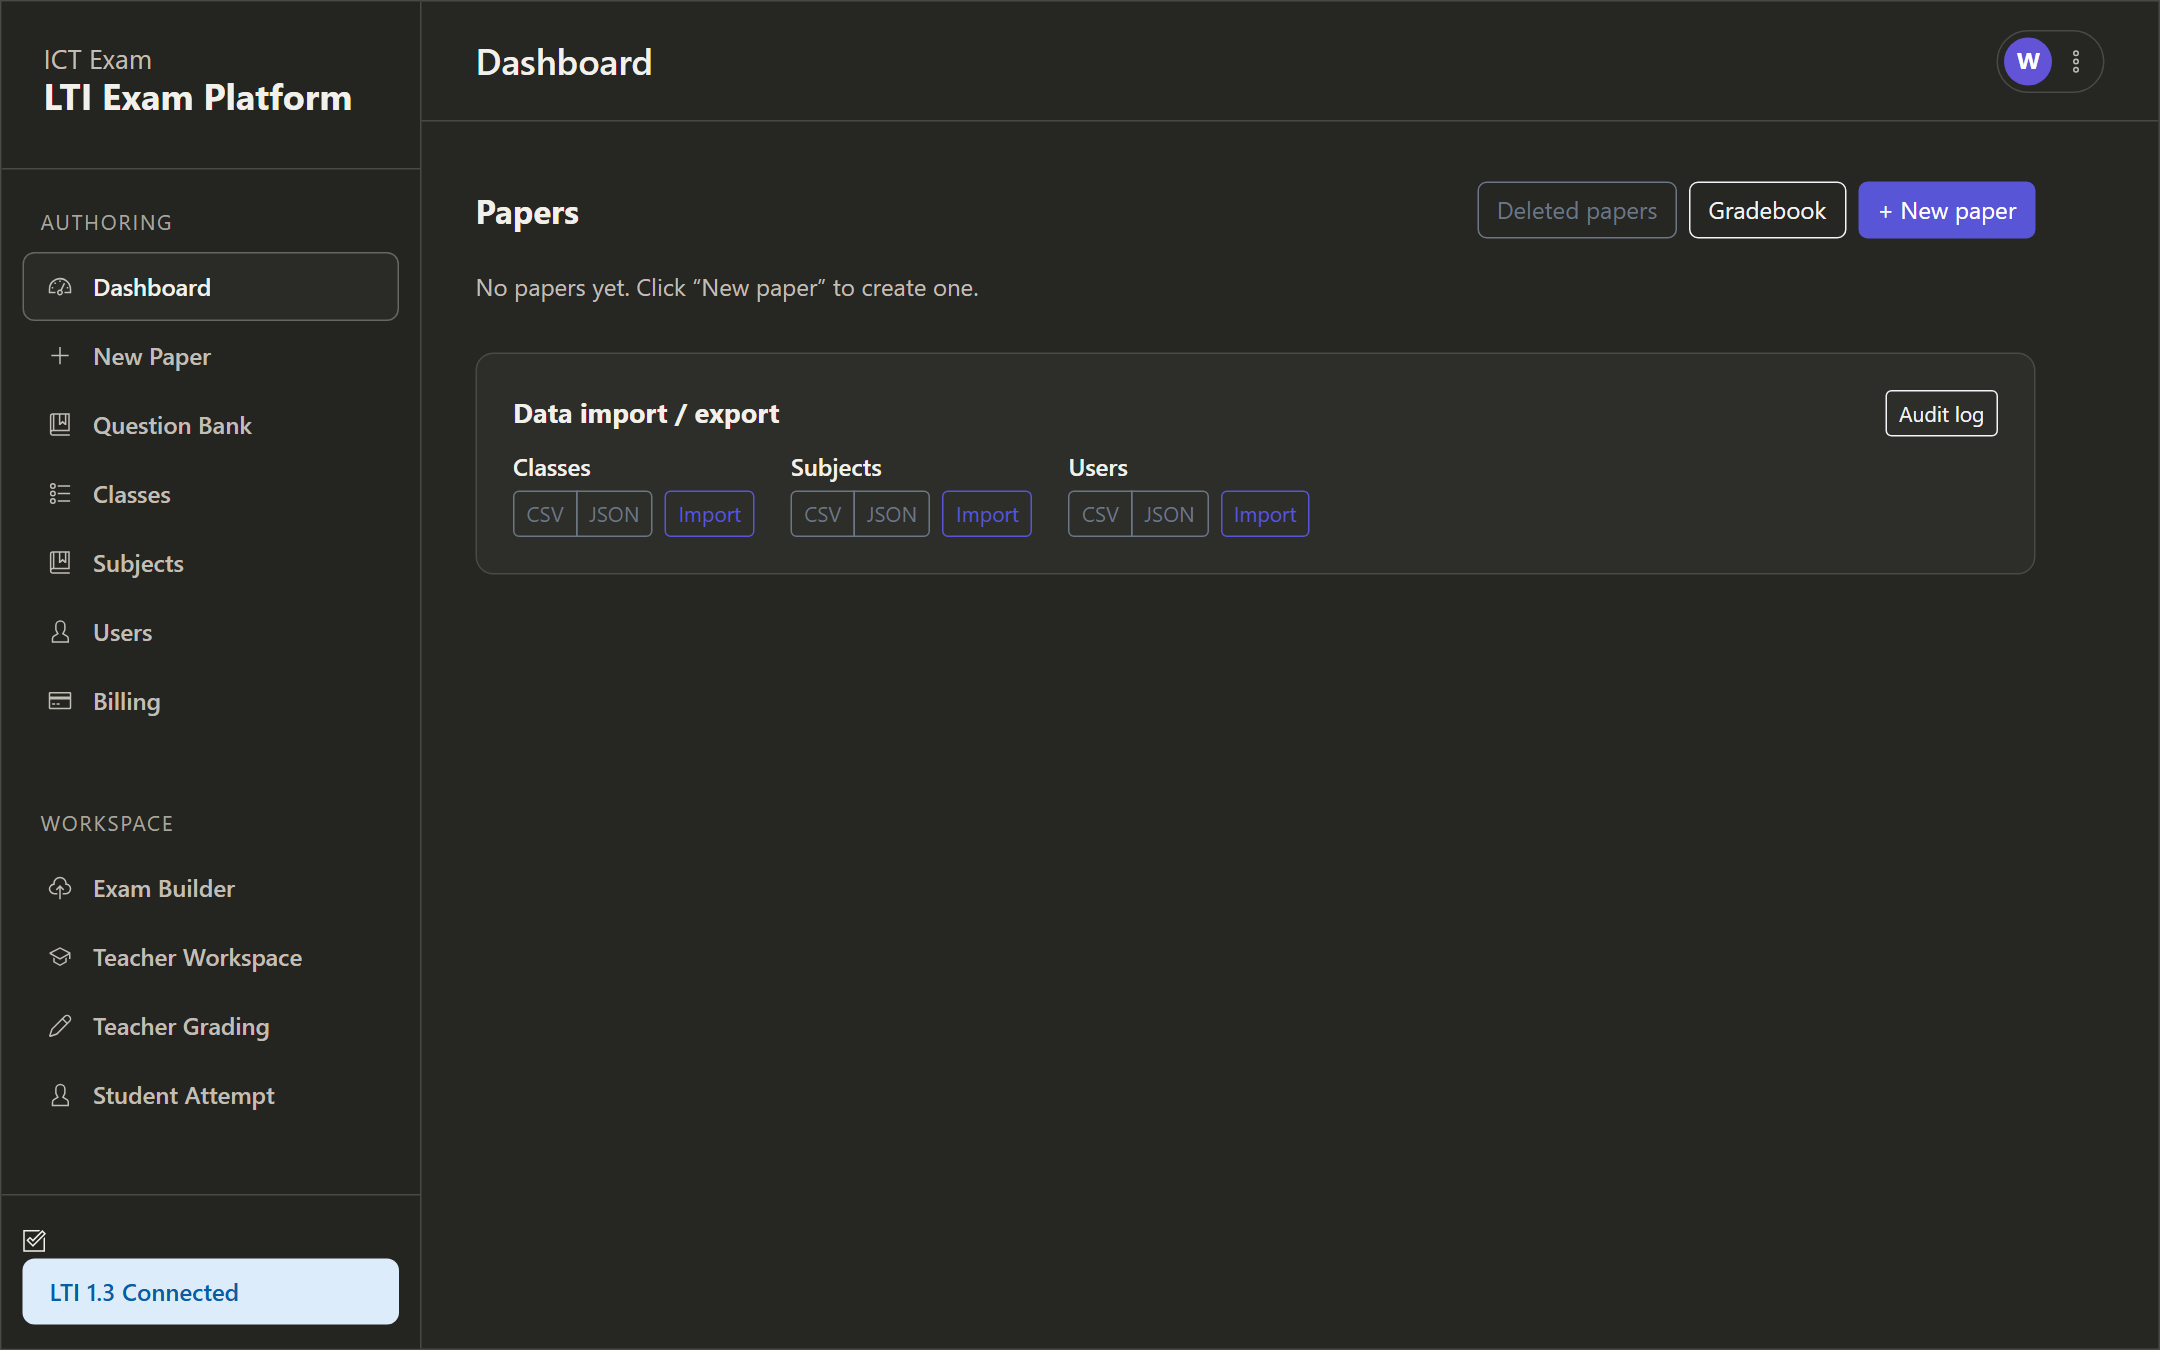
The left sidebar groups your tools:
- Authoring — Dashboard, New Paper, Question Bank, Classes, Subjects, Users, Billing.
- Workspace — Exam Builder, Teacher Workspace, Teacher Grading, Student Attempt.
Use New paper to author an exam (see the Teacher Guide), Gradebook to view results, and Deleted papers to restore soft-deleted papers.
Managing users
Open Users from the sidebar. Add accounts with the Add user form (email, full name, role, password) and manage existing ones below.
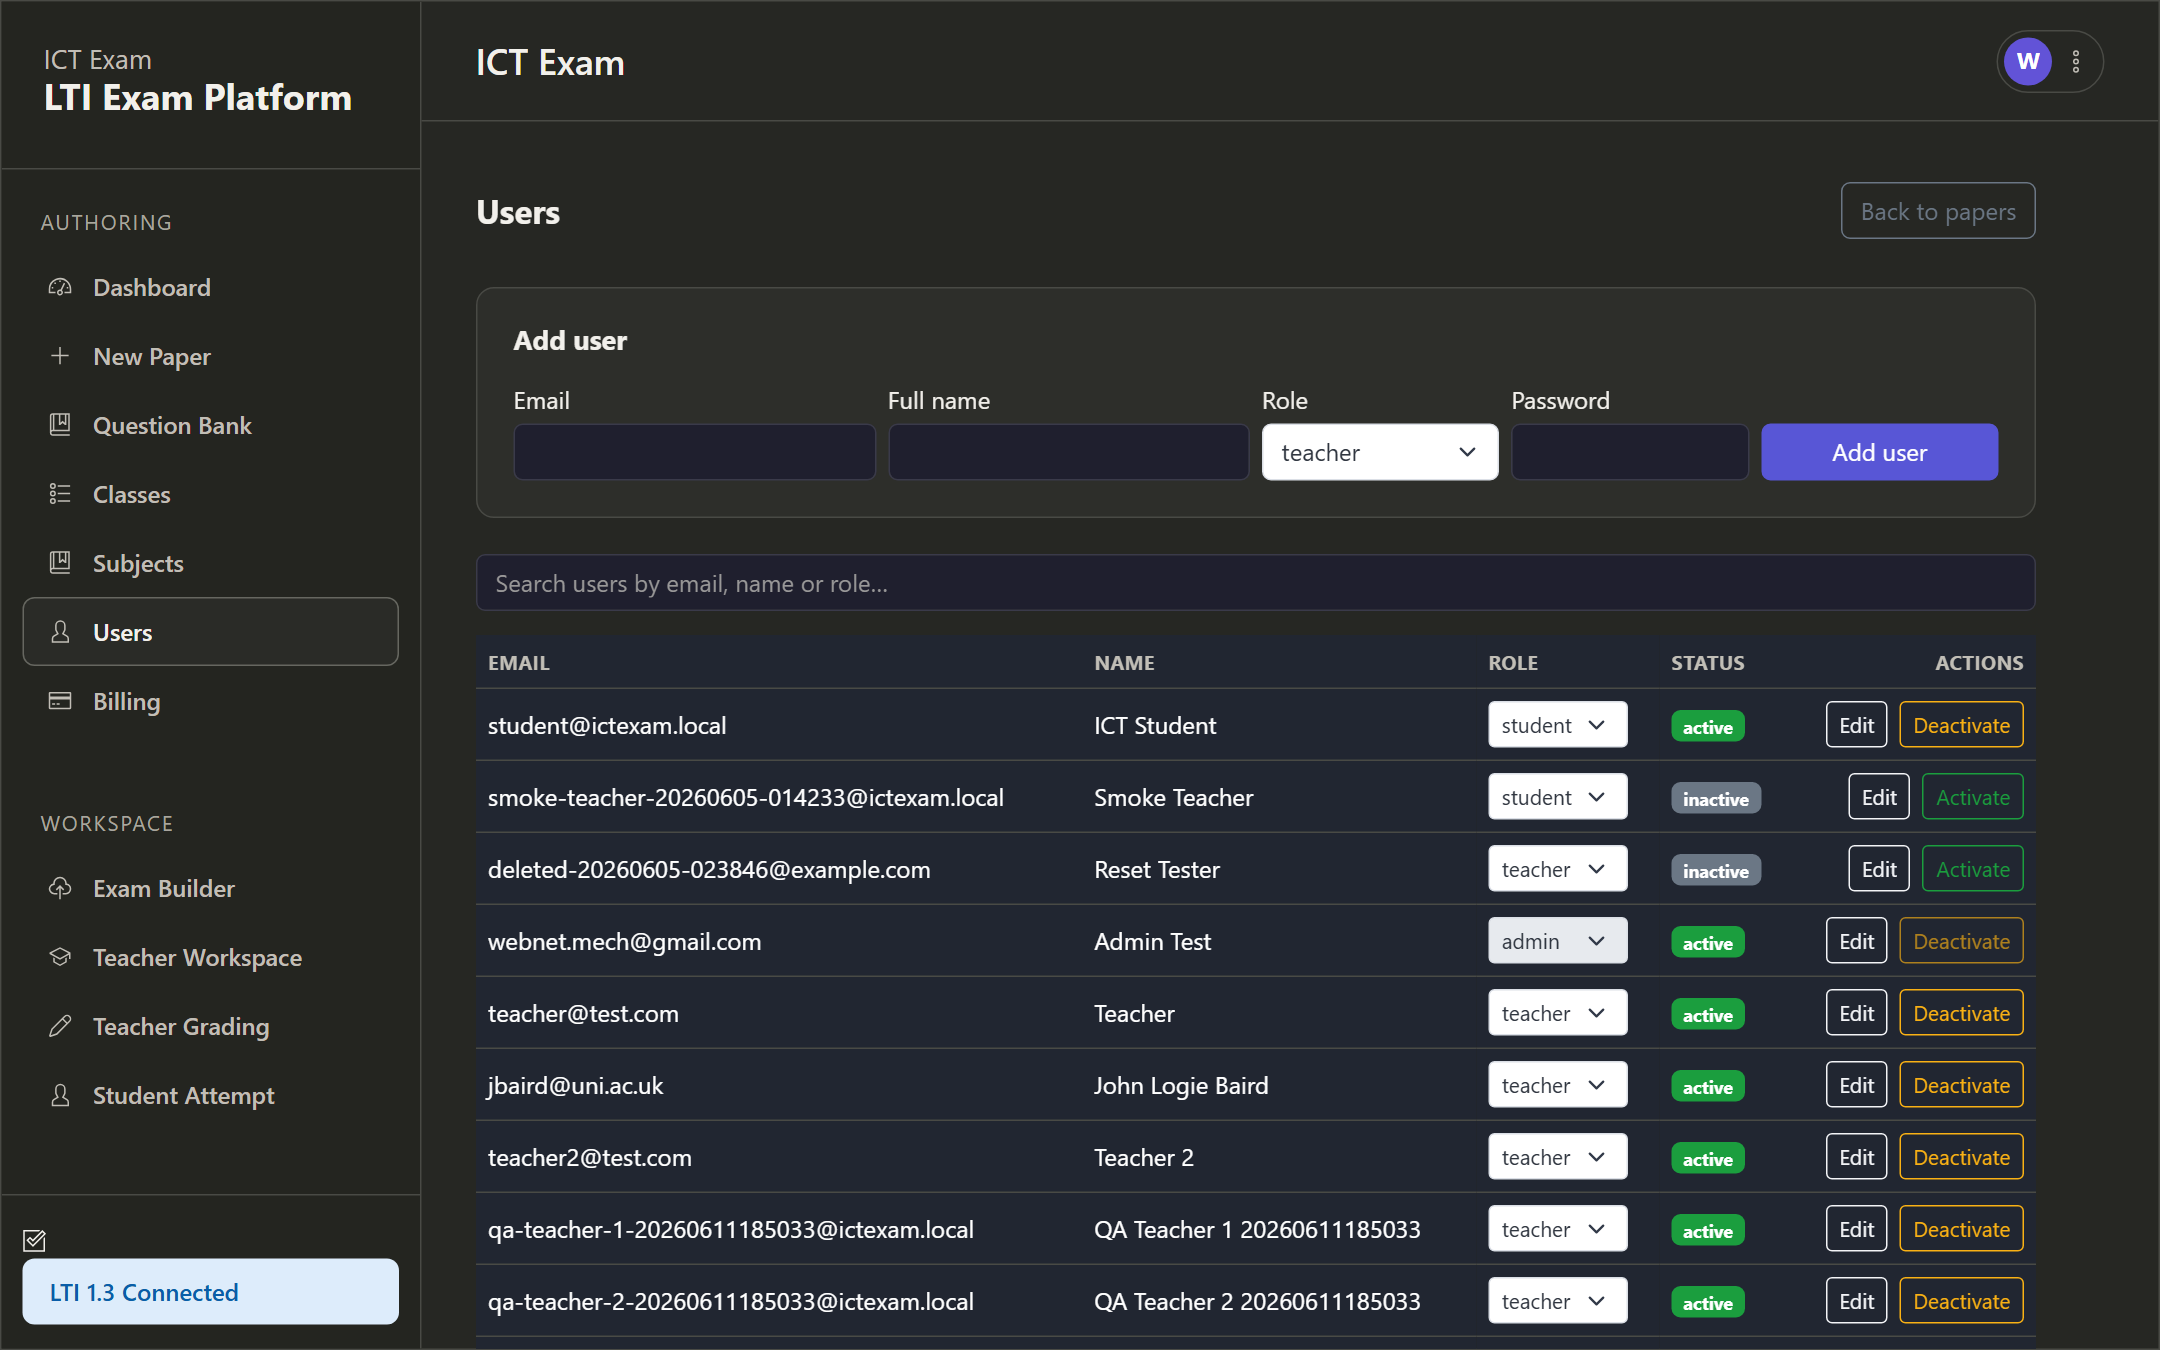
For each user you can:
- Search by email, name or role.
- Change the role inline (student, teacher or admin).
- See status (active or inactive).
- Edit the user’s name, role and active flag.
- Deactivate or Activate to disable or re-enable an account.
Seat limit. New accounts count against your organization’s seat limit. If you hit the cap, the super admin can raise it or you can deactivate unused accounts.
Classes and subjects
Classes and Subjects organize your papers. Each is a simple add, edit and list page.
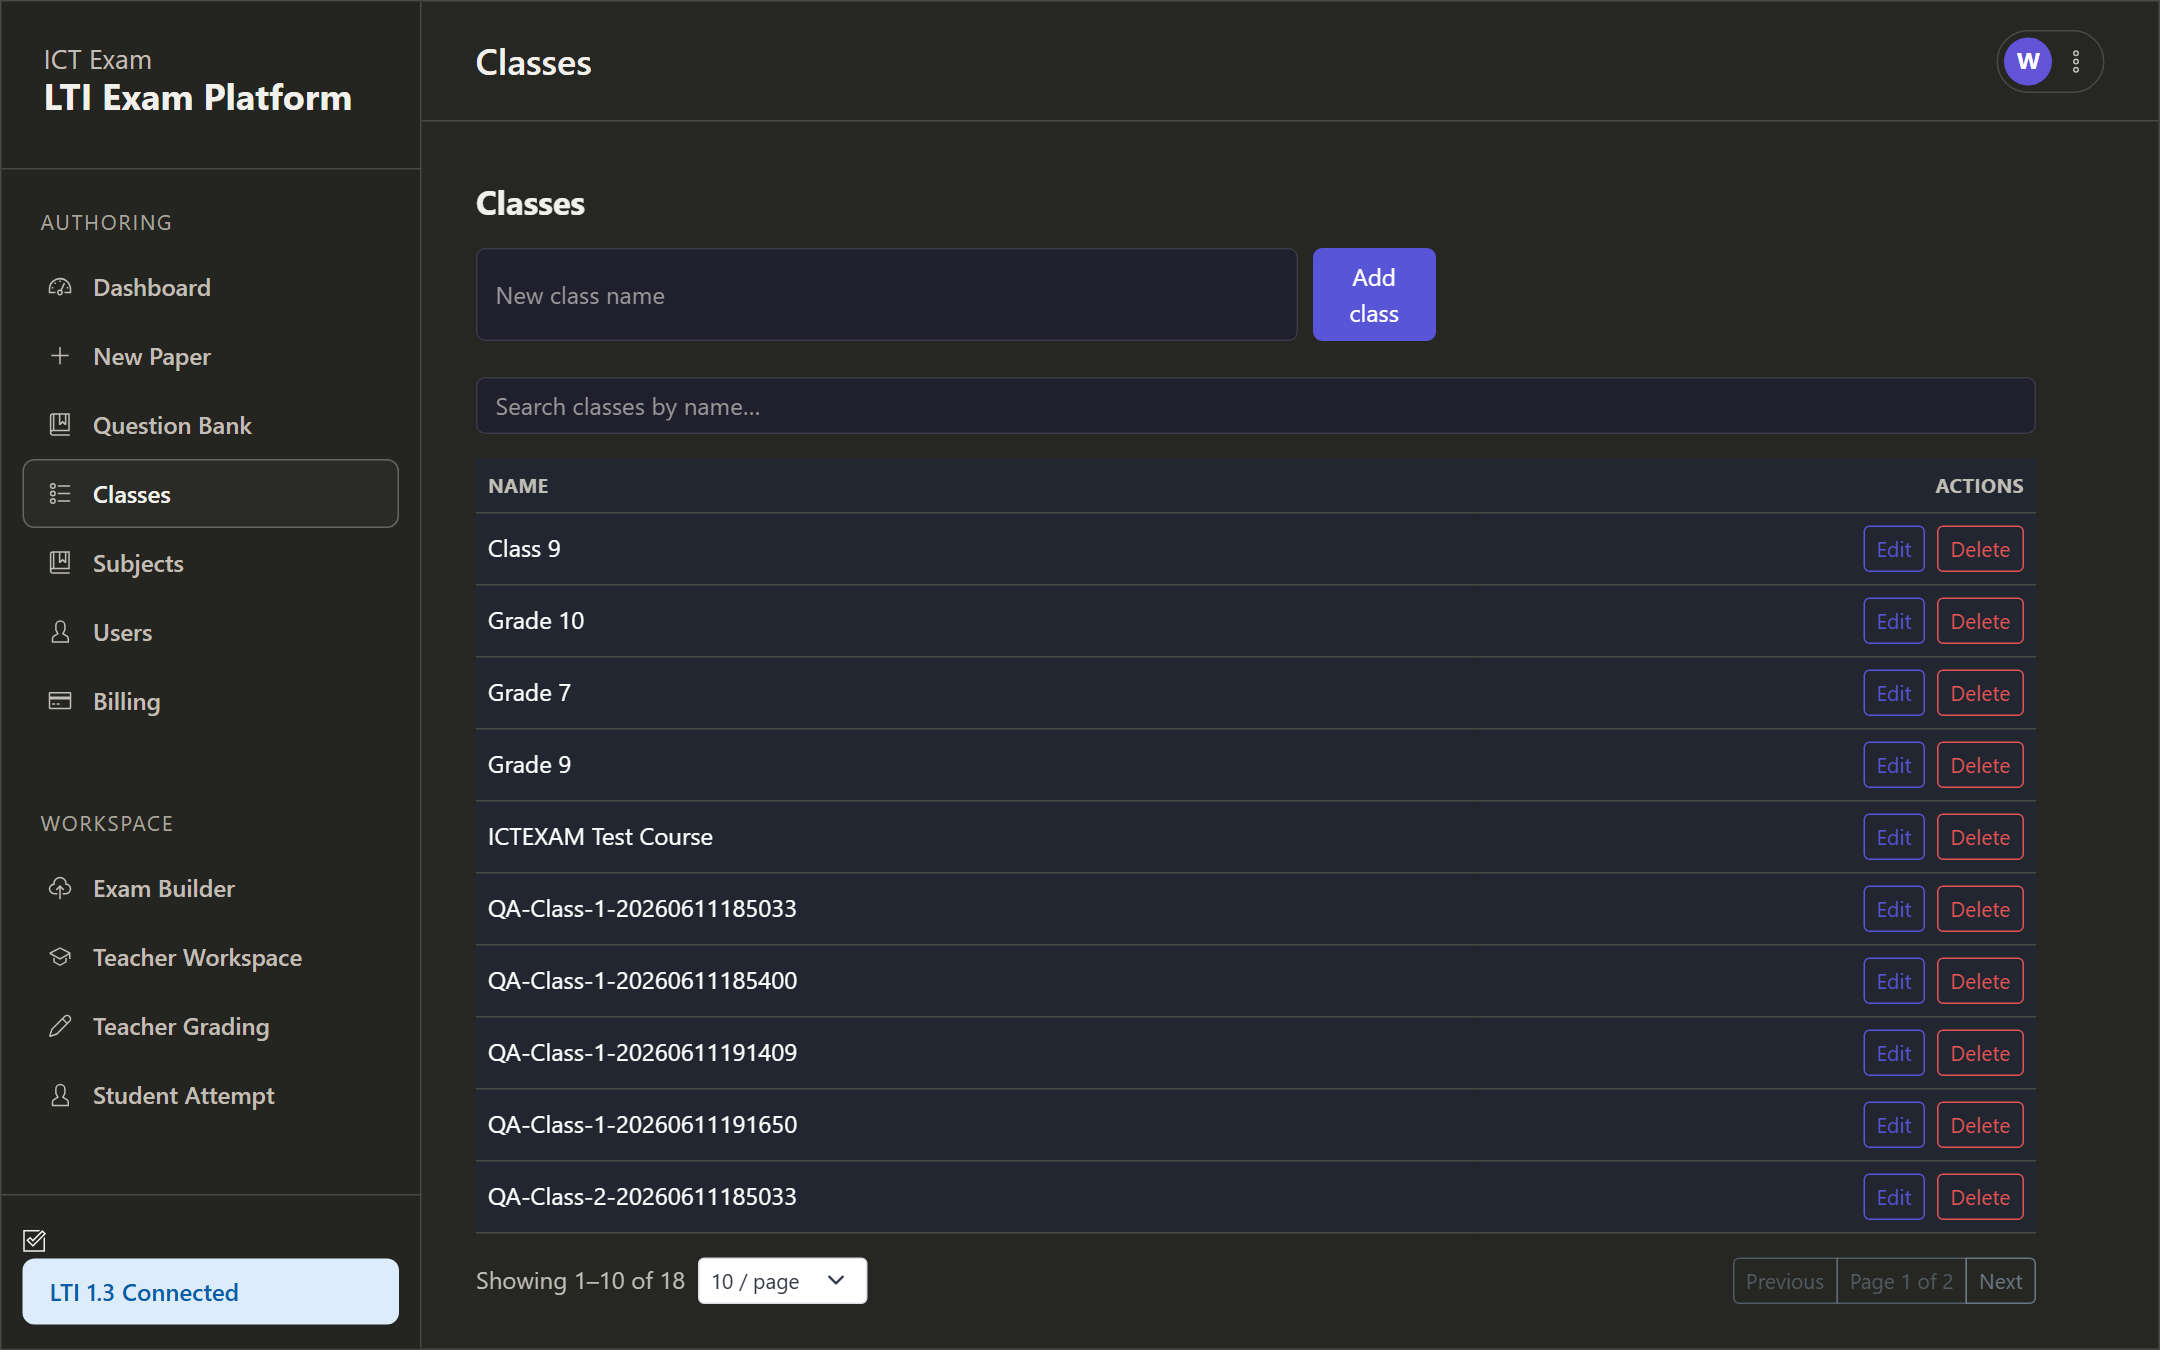
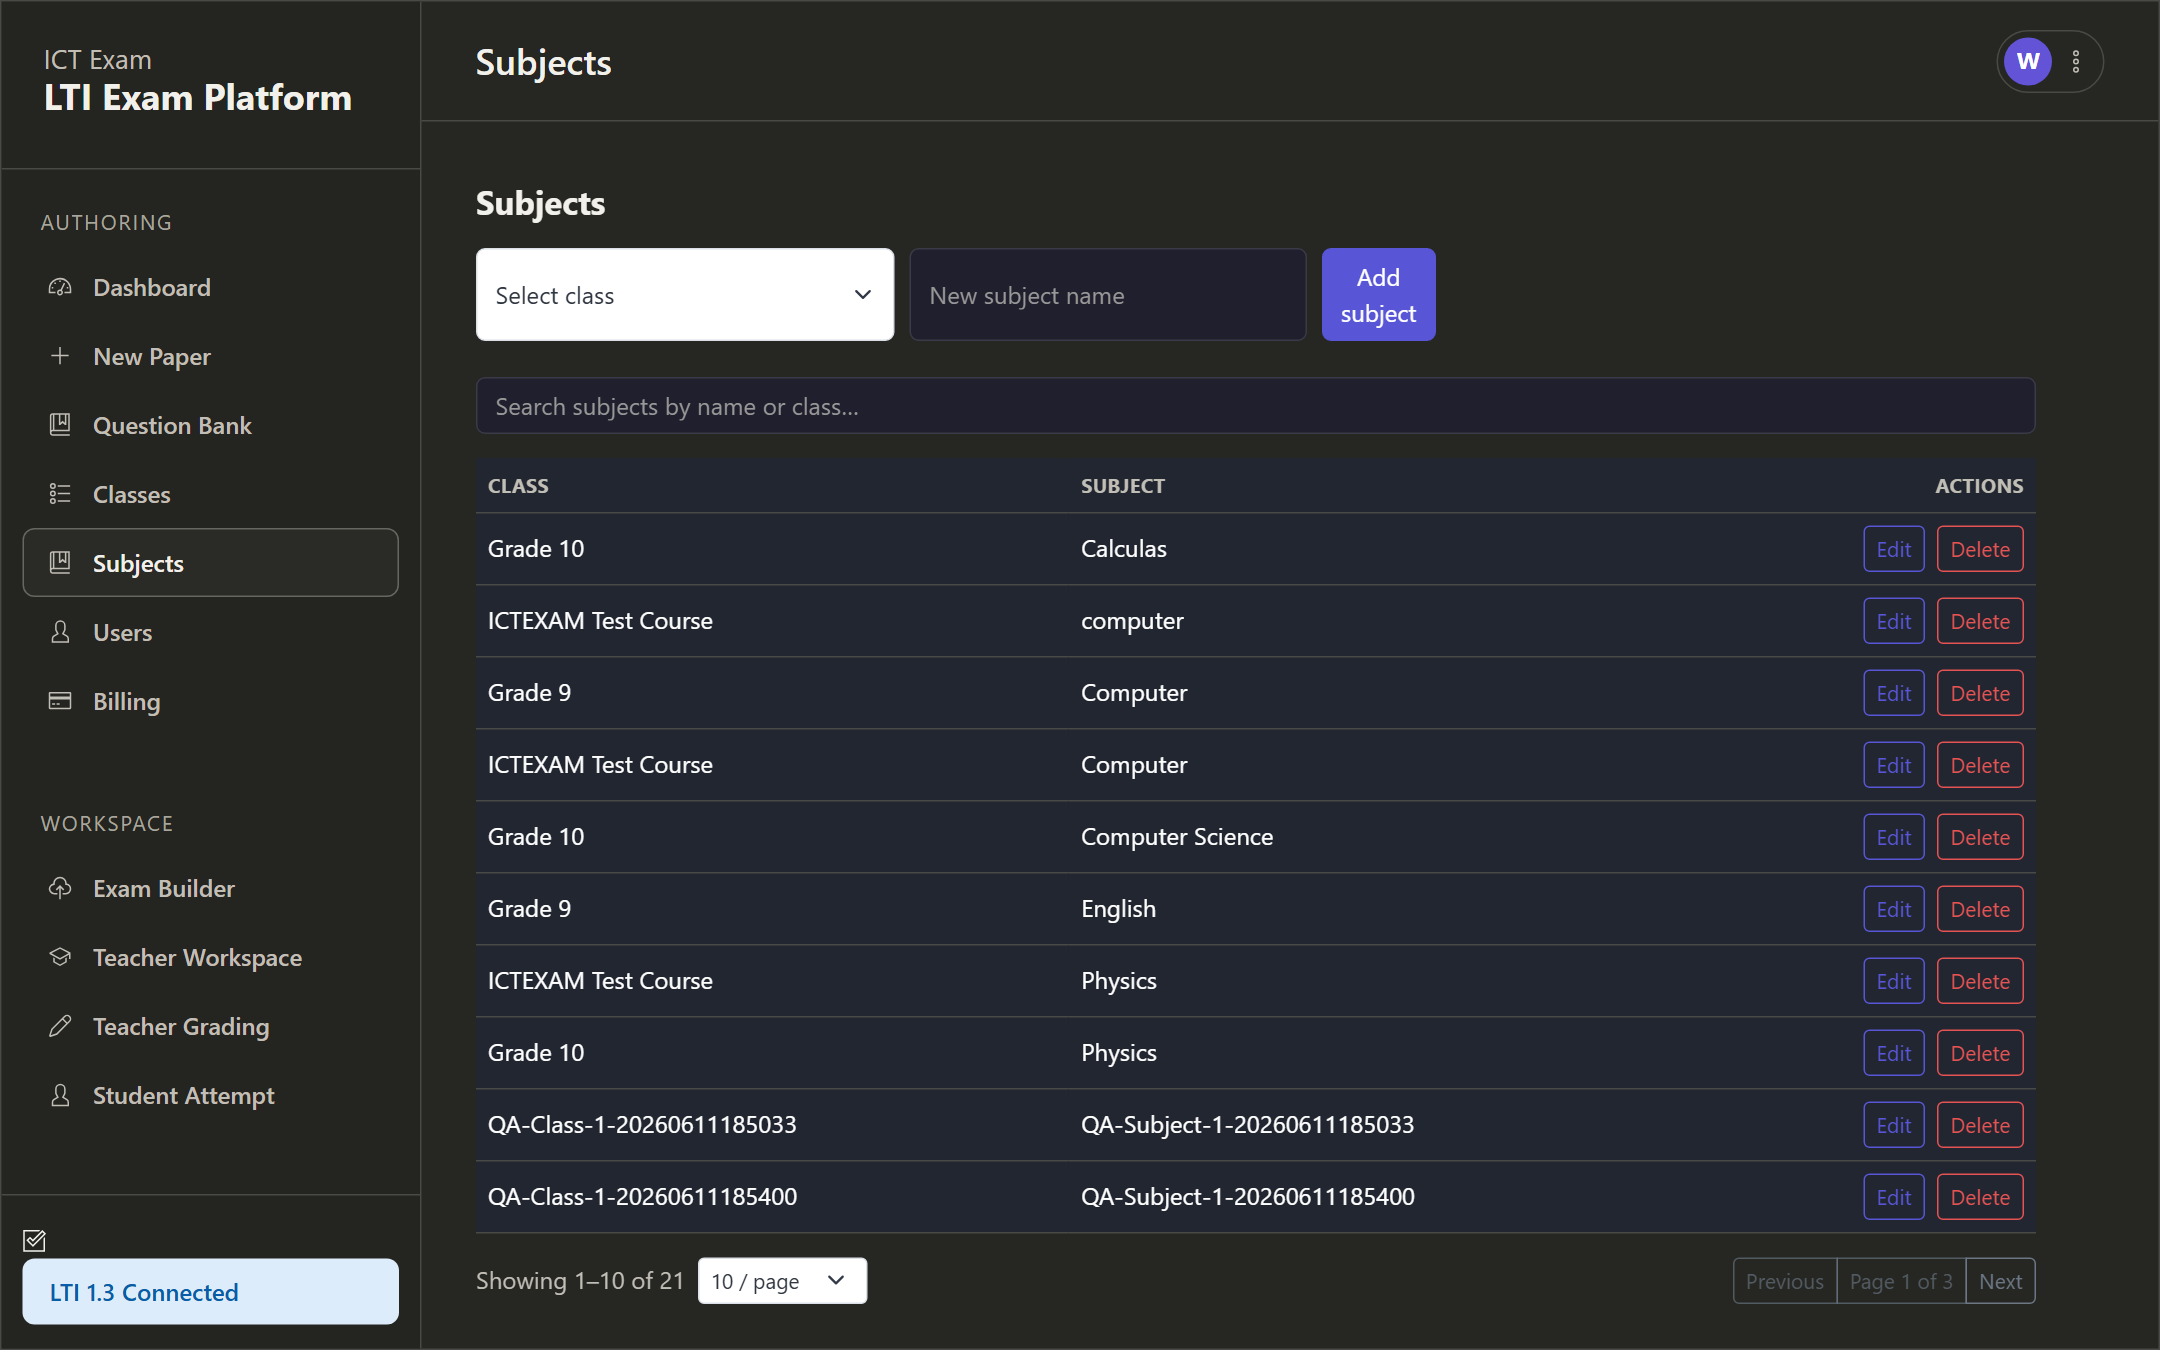
Classes and subjects are referenced when authoring a paper (the Class and Subject fields on the paper metadata step) and when filtering the gradebook. When ICT Exam is launched from Moodle, classes are auto-provisioned from the launch context; you can also create them by hand or via import.
Import and export
The dashboard’s Data import and export panel round-trips Classes, Subjects and Users as CSV or JSON. Imports update by natural key, so re-importing the same file updates rather than duplicates. Use this to bulk-load a roster or migrate between environments.
Billing
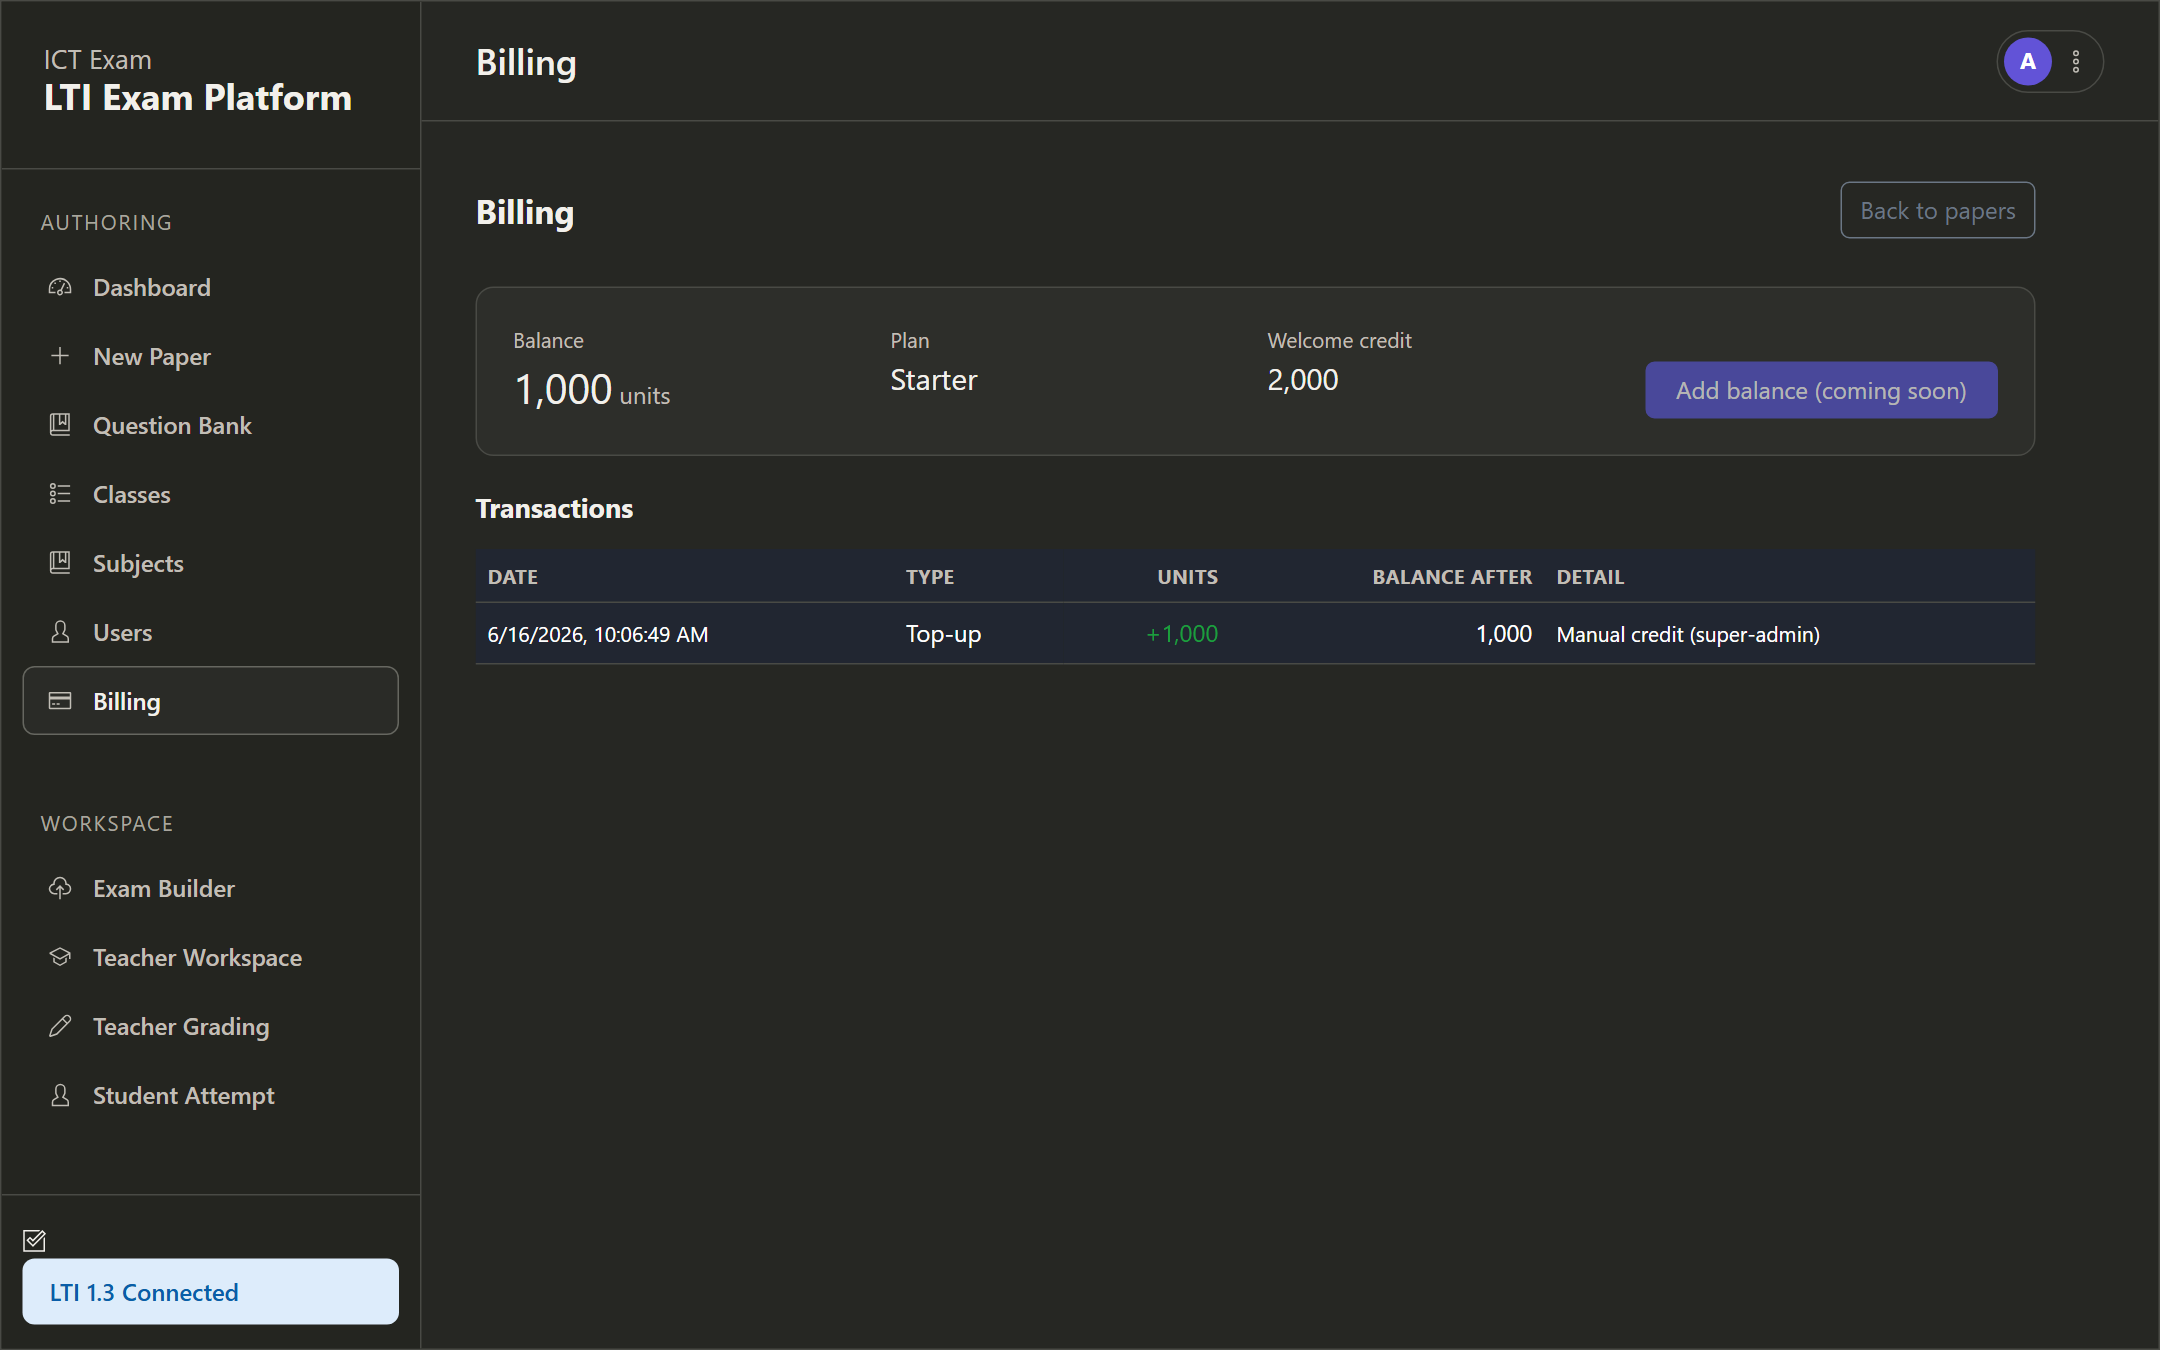
Open Billing to see your organization’s grading wallet and plan.

The page shows:
- Balance — remaining prepaid grading units.
- Plan — your subscription tier.
- Welcome credit — the one-time credit granted at sign-up.
- Transactions — a ledger of top-ups and deductions, with date, type, units, balance after, and detail.
AI-assisted grading consumes units: text answers cost one unit, image answers cost twelve. When the balance reaches zero, AI grading pauses and affected questions route to pending teacher review, so no attempt is ever lost. Top-ups arrive automatically after a paid invoice, or the super admin can credit you manually.
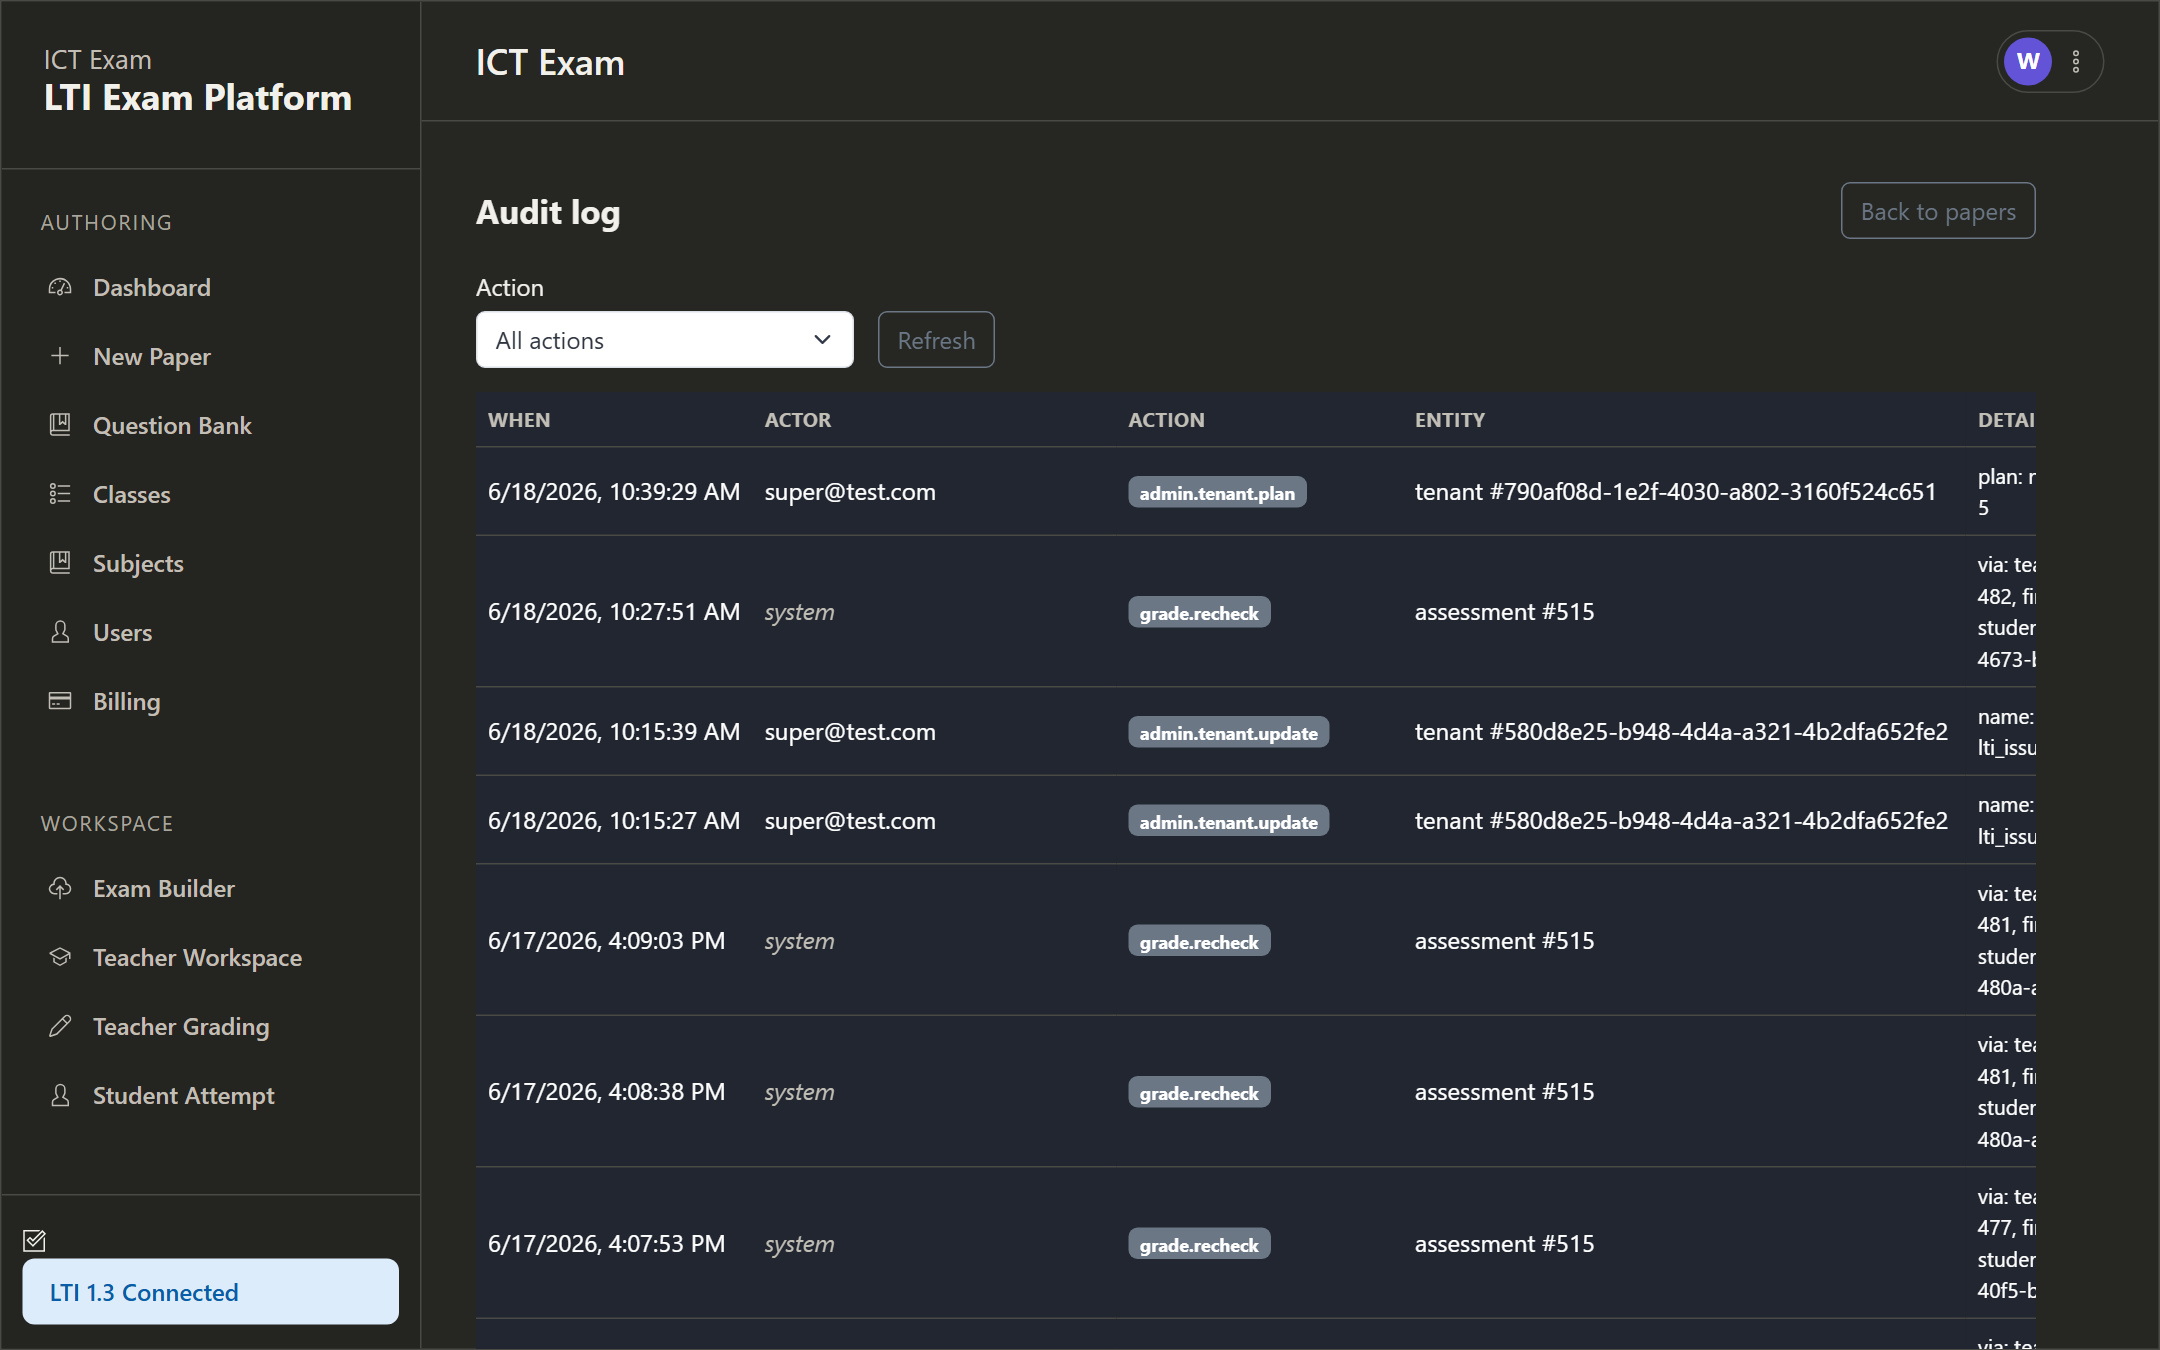
Audit log
Click Audit log (top-right of the import and export panel) to review a chronological record of administrative actions within your organization.
Moodle roster sync
If your users come from Moodle, a teacher or admin who opens ICT Exam from a Moodle activity sees a Moodle roster panel with a Sync roster from Moodle button. It pulls the course’s membership and updates users and enrolments. The button only appears for a live instructor Moodle launch, because a direct login has no Moodle course context to read.
Need a hand?
If this guide does not cover what you are after, open a ticket and our team will help.
Contact us